(This post contains some affiliate links which were added to make it easier for you to find the items. If you click on an affiliate link and make a purchase, I will receive a small commission (at no extra cost to you). You are free to use the links or not - if you do, I thank you!)
Have you seen the price of decorative pillows lately? Good grief! I don't care - even if I win the lottery, I will never pay $100 for a throw pillow. As a matter of fact, I don't even want to pay $25. My goal is to keep it under $10.
What's that? You don't know how to sew? You don't have a sewing machine? That's okay - you can still make these pillow covers with just a few substitutions!
What you'll need:
- Pillow(s) - or you can cover a pillow form (also here)
- Measuring tape
- Scissors or Fiskars 8-Inch Pinking Shears
- Fabric (I was able to get two 16" covers out of 1 yd. of 54" wide home decor fabric)
- Thread
- Sewing machine or Dritz 227 1/4-Inch by 20-Yard Stitch Witchery, Regular
- Optional: Velcro, embellishments - like buttons
Directions:
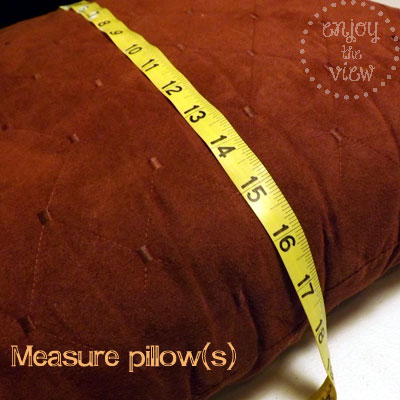
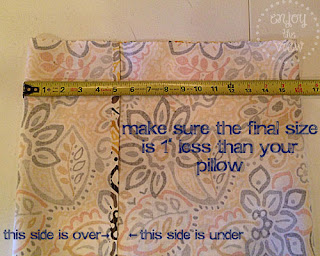
ONE: Measure your pillow(s). The ones I'm covering are 17" square. I'm going to make my pillow covers 1" smaller than the pillows so that the covers fit snugly and the pillows look plump. If you like a looser fit, make the finished cover the same size as the pillow.
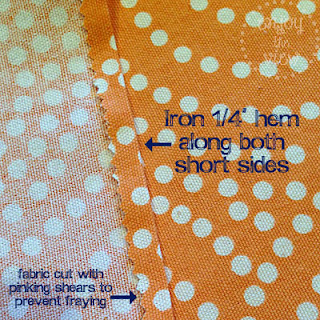
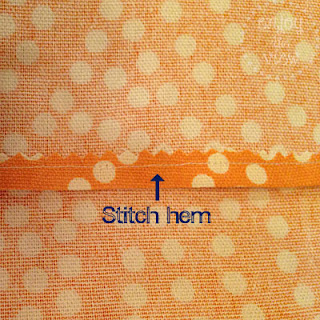
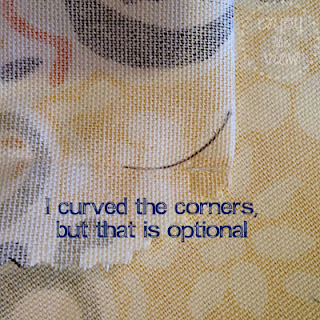
THREE: Hem the two short sides. Working with the 17" sides, I ironed a 1/4" hem on both, then stitched it into place.
FOR THOSE WHO CAN'T SEW OR DON'T HAVE A SEWING MACHINE:
All you need to do is use Stitch Witchery to make your seams. When I say "sew" or "stitch" in the directions, you just close the seams with Stitch Witchery instead!
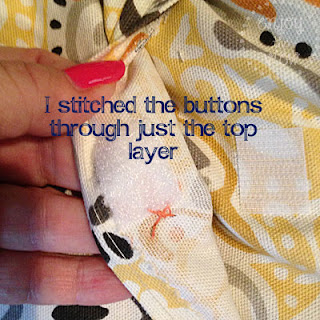
Because my overlap was lacking, I needed something to help hold the cover closed. I used fusible Velcro squares. They're very easy to use - you just stick it on, iron it for 90 seconds, let it cool, and you're good to go.
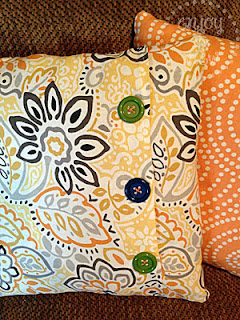
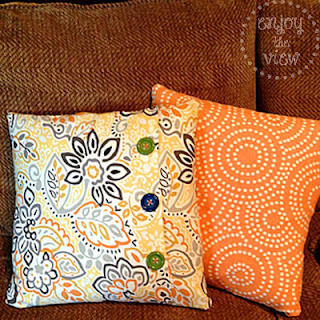
On one pillow, I decided to put the overlap "flap" in the front. I added the Velcro, then I hand-stitched three decorative buttons along the edge. Love it!!
The covers are easily removed for washing or changing for a different season, redecorating, etc.
I cut out fabric for 6 covers. It's really fast and easy to do a bunch at one time. Just do each step for ALL the covers before moving onto the next step. You could easily finish 6 covers in less than an hour. And check out these prices:
Fabric (enough for 6 pillows) $21 (I bought mine at Jo-Ann's for 40% off)
Buttons $3 (bought a small bag of them at Michael's on sale & add'l 25% off)
Velcro $3 (also bought at Michael's, 25% off)
Price per pillow cover - less than $5!!!
We're going to be using these pillows on the deck, so they're part of a major deck makeover. There are other pillows that will have different embellishments, so I'll show you those in another post!
Check out this tutorial on recovering round pillows - and these fabric and button flowers that can be used to embellish your pillows!
If you give this tutorial a try, I'd love to see your creations! Leave a comment here, on Instagram, or Snapchat!
Did you know that our newsletter subscribers receive members-only access to printable recipes, travel printables, and more? You can sign up here!










No comments:
Post a Comment
I love reading your comments!!