(This post may contain affiliate links which were added to make it easier for you to find the items. If you click on an affiliate link and make a purchase, I will receive a small commission (at no extra cost to you). You are free to use the links or not - if you do, I thank you!)
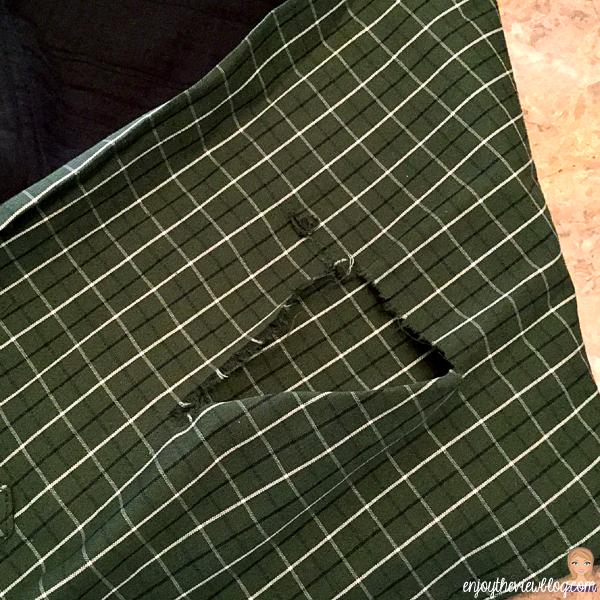
Gus has this really annoying habit of ripping the elbows of his work shirts. I have no idea how he manages to do this. It's not like he does manual labor for a living - the only thing he crunches is numbers. But somehow he has ripped the elbows of seven shirts in the past year - and four of them were less than 6 months old, purchased from Eddie Bauer (so not old, and not cheap).
We would hate to toss these otherwise-perfectly-good shirts, so I just turned them into short-sleeved shirts - and they look great! Then I started thinking that there might be some folks out there who would be interested in doing this, too. Maybe you have worn cuffs, worn elbows, or just want a new look for the shirt. Whatever the reason, it's easy to make the change and you can do it in just 5 steps!
For those of you who are saying, "I can't sew!", well, yes - I did hem mine on the sewing machine. But if you don't sew or don't want to bother with that, I can tell you how to do it without sewing, too!
Now I do want to say upfront that I am not tailoring these sleeves. So if you're looking for a tutorial on tapering the sleeves to make them slimmer and more fitted - this isn't it. This is simply going to show you how to quickly shorten a sleeve and hem it to a length that you like. It works especially well with men's shirts because their sleeves tend to be looser, but it will work for any sleeve that you don't need to tailor.
What you need:
- the shirt you're going to alter, with the sleeves ironed smooth
- a shirt that has sleeves the length that you love & want to copy
- measuring tape/ruler
- marking pen of some sort (I just used a Sharpie)
- pinking shears/scissors
- straight pins
- iron & ironing board
- sewing machine or Stitch Witchery (or some sort of fusible heat bond tape)
Step 1:
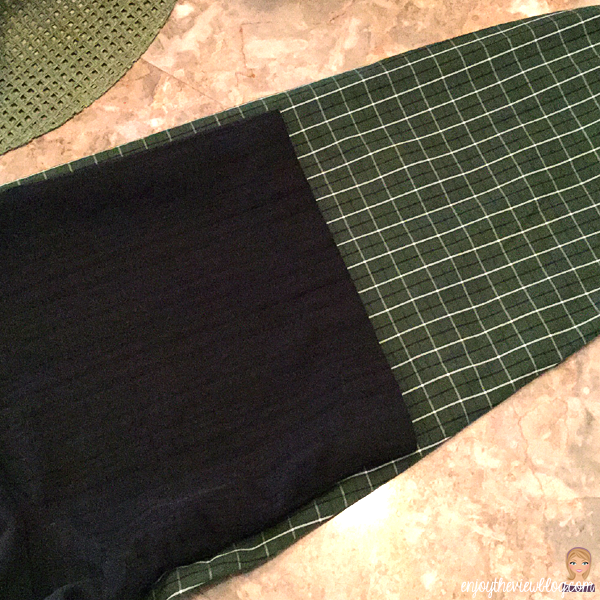
Start by laying the shirt you will be altering on a flat work surface, and smoothing one sleeve flat - using the underarm seam as a guide to keep the sleeve straight.
Once it is smooth, lay the shirt with the short sleeves you want to copy on top of this shirt - lining up the seams on the sleeves - then pin it in place so it won't move.
Repeat for the other sleeve.
Step 2:
Using the measuring tape/ruler, measure 2" away from the short sleeve (this will become the hem of the new short sleeve), and mark this on the long sleeve.
Repeat for the other sleeve.
Step 3:
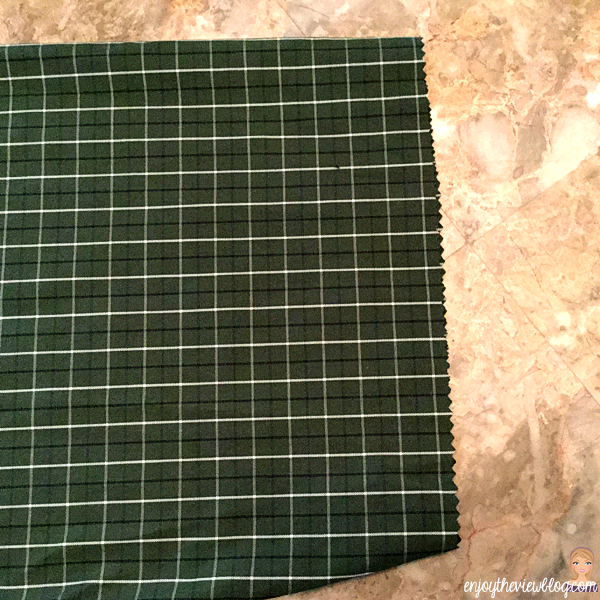
Cut along this line with the pinking shears/scissors. I prefer pinking shears, because the fabric won't fray. But scissors will work, too, because we will be doubling the fabric over. Repeat for the other sleeve. Unpin shirt.
Step 4:
(No, you're not seeing things - I switched shirts, LOL!) Turn newly cut shirt inside out. Fold sleeve hem back 1" and press with iron. Fold back 1" again and press with iron. Hem should be doubled and no raw edges of fabric should be showing. Pin in place. Repeat for other sleeve.
Step 5:
Using same color thread as other stitching in shirt, topstitch close to edge of sleeve hem. Repeat for other sleeve. If you're using Stitch Witchery or other fusible tape, just place the tape between the hem and shirt and follow the specific instructions for the product.
All of the shirts I altered were patterned, so the topstitching really didn't show, and Gus said he didn't care. So for the sake of getting the shirts done quickly, I just topstitched them. If you're working with a solid fabric and/or you don't want the stitching to show, you have a few options. You could use the Stitch Witchery (or other fusible tape) and iron the hem. If you don't mind sewing by hand, you could whipstitch the hem and it would barely be visible. And if you have a sewing machine that does a blind-hem stitch, you could do that, which is also barely visible.
That's it! It's really easy and you've recycled your shirt and given it new life!! And now I have to go finish hemming the last two shirts before Gus writes a blog post about how I procrastinate on his projects.
Do you try to extend the life of your clothing?
If so, how?


No comments:
Post a Comment
I love reading your comments!!