I really wanted to do some pretty pink pots like hers, but unfortunately, they wouldn't have coordinated with anything here - inside or out. So I had to settle for basic colors: red, blue, yellow, orange, and green - which is okay, because those are the colors we'll be using in our deck makeover!
Gus picked up eight 6" terracotta pots at Home Depot. We didn't get the drip trays because the pots would be sitting in a wire "basket" on the deck.
What we used:
- eight 6" terracotta pots
- 4 - 1" foam paint brushes
- DecoArt Patio Paint 2 oz. geranium red (I also bought sunshine yellow & orange poppy)
- Folk Art Outdoor Paint 2 oz. cobalt
- Folk Art Outdoor Paint 2 oz. grass green
- DecoArt Patio Paint Stencils (Herb Garden)
- Martha Stewart Adhesive Stencil, Blossoms
- Rust-Oleum Painter's Touch Multi-Purpose Spray Paint, Gloss Clear, 12-Ounce
I pretty much followed Jessi's instructions completely.
1. This is what we used!
2. I lightly sanded the pots with fine grit sandpaper, then removed the dust with a damp microfiber cloth.
3. Once dry, I painted about 2" down on the inside of the pots.
4. Then I sat the pots upside down on Trenta cups from Starbucks (I might just have a few...)
5. After the pots dried overnight, I positioned the stencil (which had adhesive on it).
6. Then I dabbed on paint with the foam brush.
7. I removed the stencil immediately & carefully.
8. Then I allowed the paint to dry.
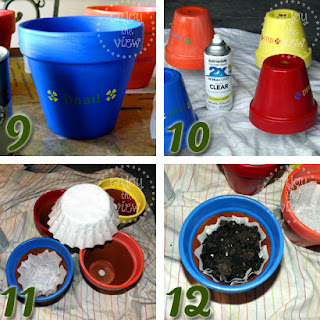
9. I decided my pots looked too much like something you'd see in a preschool room, so I gave them a very thin whitewash with some watered down white paint on a damp paper towel.
10. I sprayed the pots with sealer, both inside and out - and let them dry for 24 hours.
11. Then I put coffee filters in the pots so water drains through but the soil stays put!
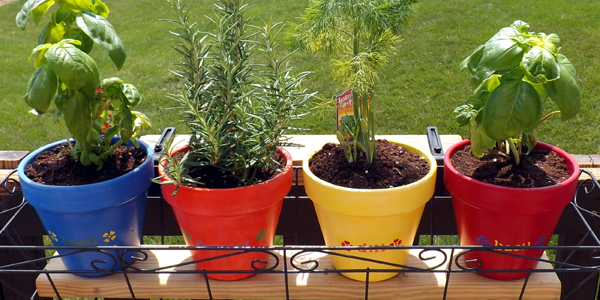
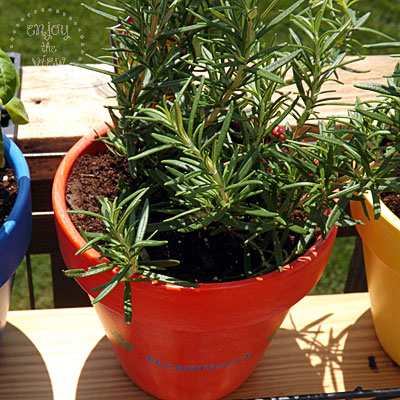
12. Lastly, I filled the pots with potting soil and planted herbs & flowers.
Originally, I intended to put a cocoa liner in the wire baskets, but we couldn't find the size we needed anywhere. So Gus improvised! After cleaning and painting the black wire planter baskets:
- He measured two 2X4's to fit in the bottom of the baskets.
- Then he cut them with a handsaw.
- I sat the pots on top of the boards and marked the drainage holes, then Gus used a boring bit to drill drainage holes in the wood!
- Genius!! We'll be staining the deck in the next couple of weeks, so I'll stain the 2X4s with the same stain when we're doing that.
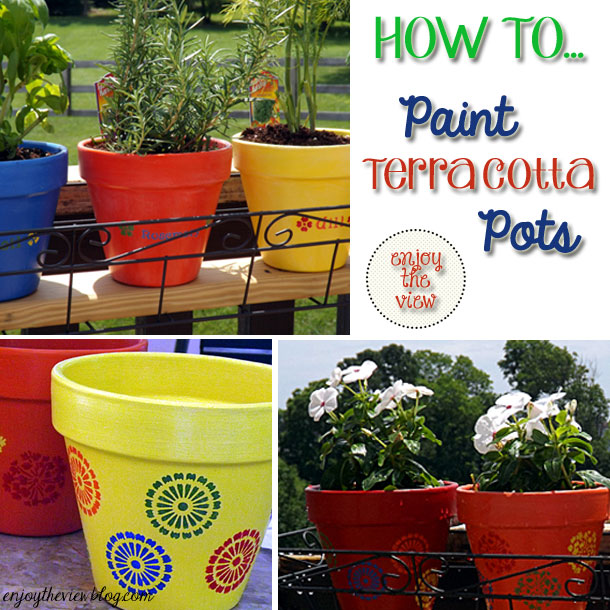
Pretty easy, huh? There are so many stencil options - or you could paint something freehand (if you're more talented than me). My favorite is the little swirly one that I used on the red and yellow pots in the above picture.
Are you planning to give this a try? Let me know how it goes! Leave a comment here or find me on Instagram or Snapchat!









No comments:
Post a Comment
I love reading your comments!!